As the scent of pine and cinnamon fills the air, I find myself wrapped in a cozy blanket, dreaming of the holiday season. There’s something so special about this time of year, a magic that transforms ordinary moments into cherished memories. And what better way to celebrate than by adorning our Christmas cookies with love? Each cookie becomes a canvas for creativity, and every sprinkle adds a touch of joy. Join me as we dive into the delightful world of Christmas cookie decorations, where every bite is a taste of warmth and happiness.
In my kitchen, the holiday spirit shines brightest when I’m baking. The laughter of loved ones, the warmth of the oven, and the vibrant colors of icing all come together to create a symphony of flavors and feelings. Whether you’re a seasoned baker or a novice, decorating cookies is a joyful activity that brings everyone together. Let’s make this year’s holiday baking extra special with simple techniques that turn plain cookies into festive masterpieces.
Why You’ll Absolutely Love Christmas cookies decorations
These cookie decorations are not just about aesthetics; they’re a celebration of the season, filled with warmth and a dash of creativity. Here’s why you’ll fall in love with this festive activity:
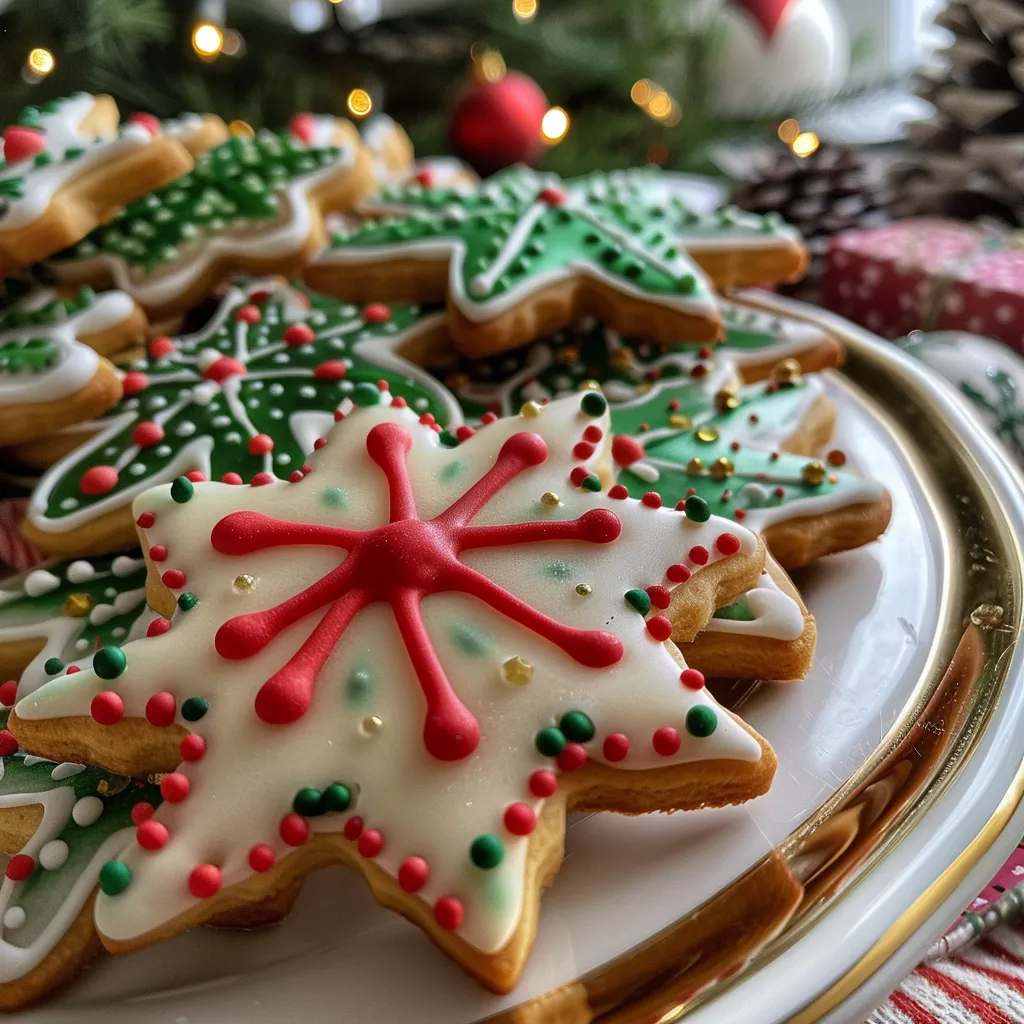
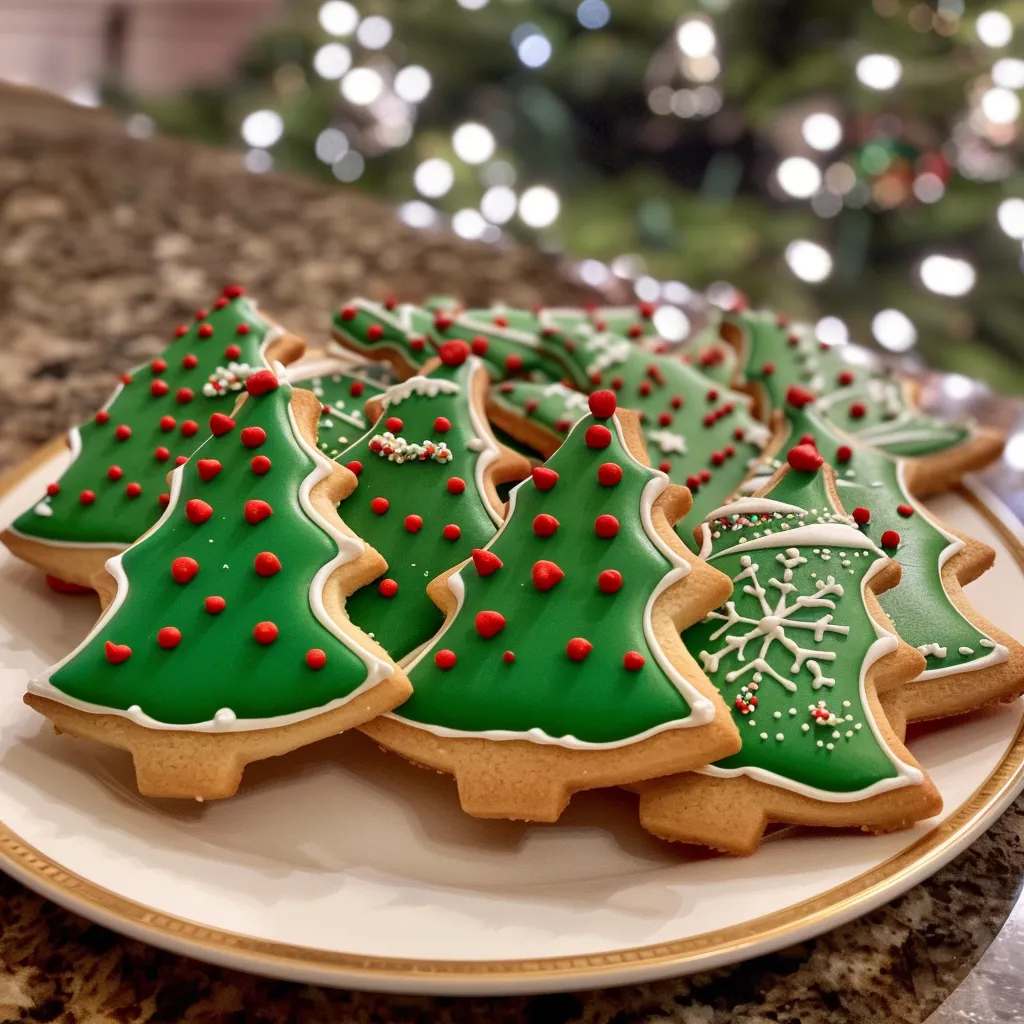
- Transformative: Simple sugar cookies become vibrant works of art with just a few touches of icing and sprinkles.
- Bonding time: Gather your family or friends for a cozy decorating session that fosters laughter and connection.
- Customizable: Create unique designs that reflect your personality or holiday spirit, from classic red and green to whimsical pastels.
- Delicious fun: Not only do these decorated cookies look beautiful, but they also taste heavenly, making them perfect for gifting or sharing.
Ingredients You’ll Need
Let’s talk about the wonderful ingredients that will help us create our festive cookie decorations. We’ll start with powdered sugar, which is the magic behind our smooth icing, giving it that perfect sweetness. A splash of milk and a hint of vanilla extract elevate the flavors, creating a luscious base for our designs. Food coloring will bring our creations to life, allowing us to play with a vibrant palette. And let’s not forget the sprinkles and edible glitter—they’re the fairy dust that makes everything sparkle and shine!
You’ll find the full ingredient list with measurements in the recipe card below!
How to Make Christmas cookies decorations, Step-by-Step
Now, let’s get our hands a little floury and dive into the step-by-step process of creating our beautiful cookie decorations. Grab your favorite holiday playlist, and let’s get started!
1. In a bowl, mix 1 cup of powdered sugar, 2 tablespoons of milk, and 1 teaspoon of vanilla extract until smooth to create the icing. This icing is the heart of our decorations, so take a moment to enjoy the sweet aroma as you mix.
2. Divide the icing into separate bowls and add different food coloring to each for your desired colors. This is where the magic happens—watch as your icing transforms into a rainbow of festive shades!
3. Using a piping bag or a small ziplock bag with the corner cut off, decorate the cooled cookies with the colored icing. Take your time with this step; it’s all about expressing your creativity. Don’t worry if it gets a bit messy—that’s part of the fun!
4. Sprinkle decorations like sprinkles and edible glitter on the icing while it’s still wet. This is where the cookies truly come to life, each sprinkle adding a little sparkle to your creation.
5. Use mini chocolate chips and crushed candy canes to add additional toppings. These little touches not only enhance the look but also add delightful textures and flavors.
6. Allow the decorated cookies to dry completely before serving or storing. This waiting period is a wonderful moment to appreciate your handiwork, perhaps with a cup of hot cocoa in hand.
Pro Tips for the Best Results
As you embark on your cookie decorating journey, here are a few tips to ensure your cookies turn out beautifully:
- Use room temperature ingredients for the icing; this helps achieve a smooth consistency that’s easy to work with.
- Don’t rush the drying process; letting the icing set properly will ensure your designs stay intact for gift-giving or sharing.
- Experiment with different piping techniques—try dots, lines, or swirls to add variety to your designs!
Serving Suggestions
Once your cookies are beautifully decorated, it’s time to think about how you’ll present them. A lovely way to serve your cookies is on a rustic wooden platter, surrounded by sprigs of evergreen or twinkling fairy lights. You can also package them in clear cellophane bags tied with festive ribbons for a charming gift. Picture a cozy gathering around the fireplace, sharing stories and enjoying these delightful treats—what a perfect holiday scene!
Storage and Make-Ahead Tips
If you’re looking to spread the holiday cheer over several days, these cookies store wonderfully. After the icing has dried completely, place them in an airtight container at room temperature. They can stay fresh for up to a week. If you want to get a head start on your holiday baking, feel free to decorate the cookies a few days in advance. Just be sure to keep them away from moisture to maintain their texture and beauty.

Christmas cookies decorations
Ingredients
Method
- Mix powdered sugar, milk, and vanilla to make icing.
- Divide icing and add food coloring for desired shades.
- Decorate cooled cookies with colored icing using piping bags.
- Sprinkle sprinkles and glitter on wet icing.
- Add toppings like chocolate chips and crushed candy canes.
- Let cookies dry completely before serving.
Notes
Loved this recipe? Save it to your favorite Pinterest board so you can easily find it later! It’s the perfect way to keep all your sweet ideas in one place. ✨