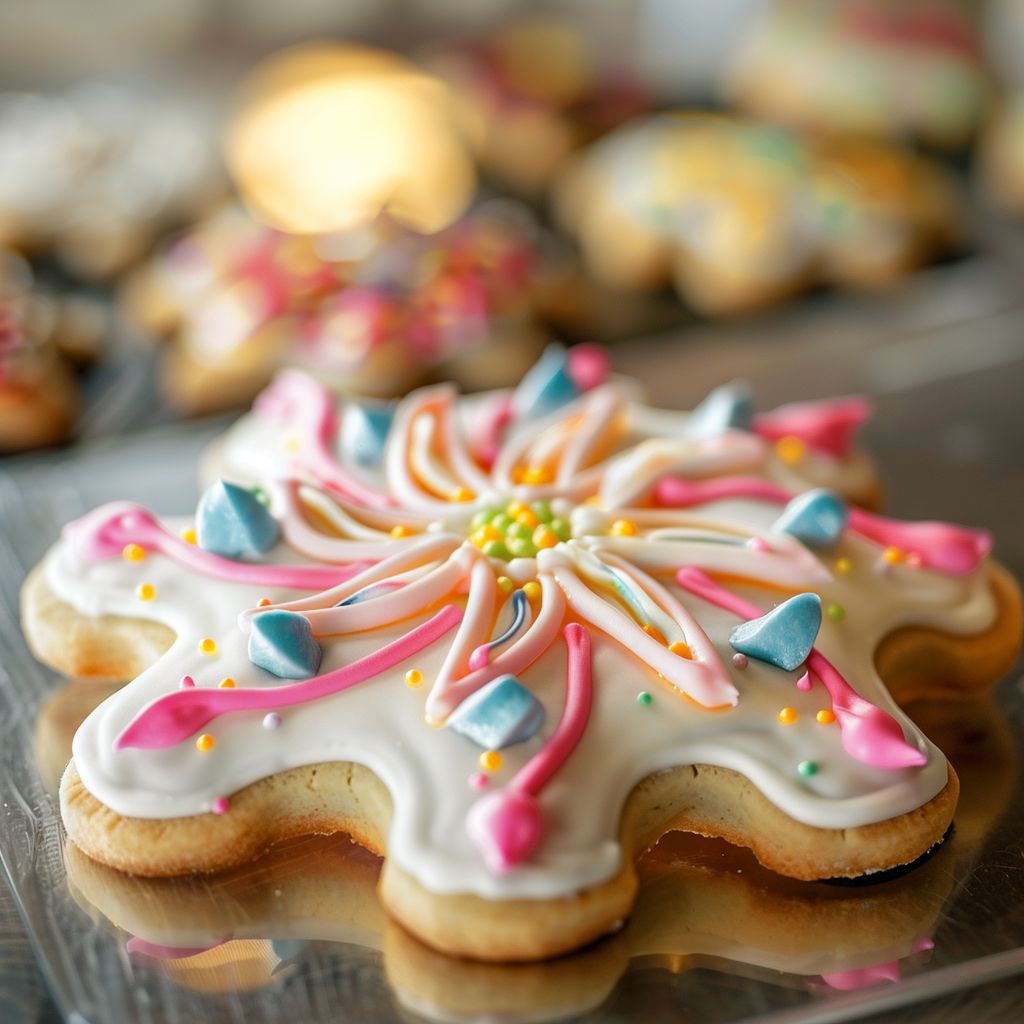
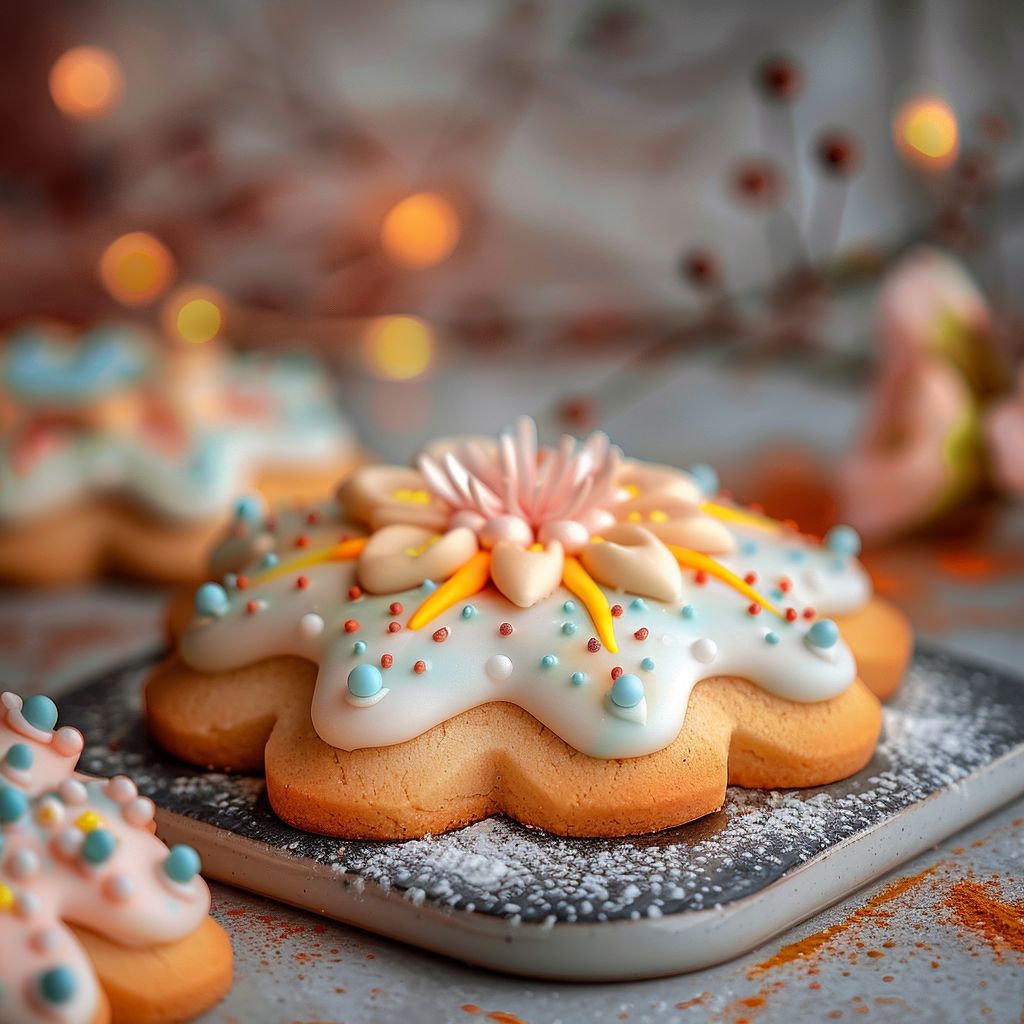
Creating Sweet Memories: 17+ Cookie Decorating Ideas for Every Occasion 🎉🍪
Welcome to a delightful journey of cookie decorating that will warm your heart and fill your kitchen with joy! In this guide, we’ll explore more than 17 creative ideas for decorating cookies, designed to make any occasion extra special. From festive gatherings to elegant soirées, these techniques are not only visually stunning but also surprisingly easy to master. Let’s dive into the world of cookie artistry where each bite is a memory waiting to be created.
Why You’ll Love These Decorating Ideas
- Endless Creativity: These decorating techniques allow for limitless designs, making your cookies as unique as your imagination.
- Perfect for Any Occasion: Whether it’s a birthday, holiday, or just a cozy family gathering, these cookie ideas fit every celebration.
- Memorable Experiences: Decorating cookies can be a delightful activity for families, creating lasting memories while enjoying a hands-on experience.
- Impressive Presentation: Your beautifully decorated cookies will impress friends and family, turning simple treats into show-stoppers.
- Easy to Customize: Each decorating idea can be tailored to suit your theme, colors, and tastes, making them versatile for any event.
Essential Ingredients for Cookie Decorating
To embark on your cookie decorating adventure, gather the following essential ingredients:
- Sugar cookies (various shapes): These will be the canvas for your creativity.
- Royal icing: This versatile icing can be colored and piped for intricate designs.
- Food coloring: Use gel or liquid to bring your icing to life with vibrant colors.
- Sprinkles: Add a fun texture and color to your cookies.
- Edible glitter: For a magical touch that sparkles.
- Chocolate melts: Perfect for drizzling and adding a rich flavor.
- Piping bags: Essential for detailed icing application.
- Cookie cutters: Various shapes to match your theme.
- Toothpicks: Handy for spreading icing and adding intricate details.
- Gel food coloring: Ideal for achieving vivid colors without altering icing consistency.
- Cornstarch: Dusting your surfaces to prevent sticking.
- Stencils: Use these for creating patterns on your cookies.
- Edible markers: Great for personalizing cookies with messages or designs.
Steps to Create Beautifully Decorated Cookies
Now that you have your ingredients ready, let’s get into the step-by-step process of decorating your cookies:
- Bake: Start by baking your sugar cookies in various shapes. Allow them to cool completely on a wire rack.
- Prepare Icing: Mix your royal icing in different colors by adding food coloring until you achieve the desired shades.
- Outline Cookies: Use thicker royal icing to outline the edges of your cookies. Let it dry for about 15 minutes.
- Flood with Icing: Thin your icing with a bit of water, then flood the inside of the outlines with this icing. Use a toothpick to spread it evenly.
- Add Texture: While the icing is still wet, sprinkle with your favorite sprinkles for added texture.
- Apply Glitter: For a sparkly finish, sprinkle edible glitter on top of the icing.
- Chocolate Drizzle: Melt chocolate or candy melts and drizzle over the cookies for a decorative touch.
- Create Cookie Pops: Insert lollipop sticks into the cookies and decorate them as desired.
- Shape with Fondant: Use marzipan or fondant to create shapes and figures to place on top of the cookies.
- Stencil Patterns: Use stencils to create beautiful patterns with powdered sugar or cocoa powder on your cookies.
- Draw with Markers: Personalize your cookies by drawing messages or designs with edible markers.
- Experiment: Try different piping techniques for intricate designs using royal icing.
- Theme It Up: Use themed cookie cutters to create cookies that match special occasions.
- Mini Treats: Make mini cookies for party favors and decorate them in various colors and patterns.
- Layering Techniques: Experiment with layering different colored icings for a striped effect.
- Host a Decorating Party: Invite friends and family over for a cookie decorating party, allowing everyone to create their own designs.
Pro Tips for Perfect Cookies
- Chill Your Dough: Always chill your cookie dough before baking for a better shape and texture.
- Use Fresh Ingredients: Ensure your ingredients, especially baking soda and powder, are fresh for optimal rise.
- Room Temperature Eggs: Use room temperature eggs for better incorporation into your dough.
- Invest in Quality Icing Bags: High-quality piping bags will give you better control over your designs.
- Practice Piping: Before decorating, practice your piping techniques on parchment paper to build confidence.
- Let Icing Dry Completely: Allow your decorated cookies to dry completely before stacking or packaging.
- Stay Organized: Keep your workspace organized to streamline the decorating process.
- Use a Toothpick for Details: A toothpick is perfect for adding fine details and correcting any mistakes.
- Follow the Season: Use seasonal colors and themes to keep your cookie designs fresh and relevant.
- Have Fun!: Enjoy the process and let your creativity shine through.
Common Mistakes and Troubleshooting
Even seasoned bakers face challenges when it comes to cookie decorating. Here are some common mistakes and how to fix them:
- Too Runny Icing: If your icing is too runny, add more powdered sugar to thicken it.
- Uneven Flooding: If your flooding isn’t even, use a toothpick to spread the icing and smooth it out.
- Colors Bleeding: Allow each layer of icing to dry before adding another color to prevent bleeding.
- Cookies Spreading During Baking: Ensure your dough is properly chilled to maintain shape while baking.
- Cracks in Icing: If your icing cracks, it may be too thick. Thin it with a little water and mix well.
Storage and Make-Ahead Instructions
To keep your beautifully decorated cookies fresh:
- Store in an Airtight Container: Keep cookies in an airtight container at room temperature for up to a week.
- Freeze for Longer Storage: Decorated cookies can be frozen for up to three months. Place them in a single layer in a freezer-safe container.
- Make Cookie Dough Ahead: Prepare your cookie dough in advance and refrigerate it for up to a week before baking.
- Decorate Later: Bake the cookies ahead of time and decorate them closer to your event for freshness.
FAQs About Cookie Decorating
- What type of icing is best for decorating cookies? Royal icing is ideal because it dries hard and can be easily colored.
- Can I use buttercream instead of royal icing? Yes, but buttercream is softer and may not hold intricate designs as well as royal icing.
- How do I get bright colors in my icing? Use gel food coloring, as it provides more vibrant colors without altering the icing’s consistency.
- Can I use store-bought cookies for decorating? Absolutely! Just ensure they are plain and sturdy enough to hold the icing.
- How long do decorated cookies last? Decorated cookies can last up to a week at room temperature in an airtight container.
- What tools do I need for cookie decorating? Essential tools include piping bags, various piping tips, spatulas, and toothpicks for detail work.
- Can I make the dough ahead of time? Yes, you can prepare the dough and refrigerate it for up to a week before baking.
- How can I add flavor to my royal icing? You can add a few drops of extract (like almond or vanilla) to your icing for added flavor.
Nutritional Tips and Dietary Adaptations
While cookies are a delightful treat, you can make them a bit healthier by considering these options:
- Whole Wheat Flour: Substitute half of the all-purpose flour with whole wheat flour for added fiber.
- Reduce Sugar: Consider reducing sugar in the cookie dough by a quarter without affecting the taste significantly.
- Natural Sweeteners: Experiment with honey or maple syrup as alternatives to granulated sugar.
- Gluten-Free Options: Use a gluten-free flour blend to make your cookies suitable for gluten-sensitive friends.
Recommended Equipment for Success
- Quality Baking Sheets: Invest in non-stick or silicone-lined baking sheets for even baking.
- Offset Spatula: This handy tool is perfect for spreading icing smoothly.
- Piping Tips: Various tips will allow you to create a wide range of designs, from simple to intricate.
- Cooling Rack: Essential for cooling your cookies quickly and evenly after baking.
Serving Suggestions for Your Decorated Cookies
Once your cookies are beautifully decorated, consider these serving ideas:
- Cookie Platters: Arrange your cookies on colorful platters for an eye-catching display.
- Gift Them: Package cookies in decorative boxes or bags for thoughtful gifts.
- Party Favors: Mini cookies make perfect party favors for guests to take home.
- Cookie Decorating Stations: Set up a station at your next gathering for guests to decorate their own cookies.
Conclusion
Decorating cookies is not just a culinary task; it’s a heartwarming experience that brings people together. With these 17+ cookie decorating ideas, you can create beautiful, delicious treats that will leave a lasting impression. Whether you’re planning a festive gathering or simply want to share sweet memories with loved ones, these decorating techniques will inspire creativity and joy in your kitchen. So gather your ingredients, invite your friends or family, and let the cookie magic begin! Remember, in baking, as in life, it’s all about creating sweet moments one batch at a time.

17+ Cookie Decorating Ideas for Every Occasion 🎉🍪
Ingredients
Method
- Bake sugar cookies in various shapes and cool completely.
- Prepare royal icing with food coloring; outline and flood cookies, then add sprinkles and glitter while wet.
- Melt chocolate and drizzle over cookies or create cookie pops with lollipop sticks.
- Use marzipan and fondant to create shapes, place on cookies, and use stencils or edible markers for detailed designs.
- Experiment with piping techniques and layering colors for unique effects.
Notes
Loved this recipe? Save it to your favorite Pinterest board so you can easily find it later! ✨